How to: Create Shopify customer segment template extensions
Shopify customer segments serve as a powerful tool to organize your large pool of customer data into smaller, more manageable groups. These segments can be helpful for conducting targeted marketing activities, understanding customer behavior, and looking for trends to help you figure out what the next best step for your store is.
Customer segment template extensions provide a structured way to define queries that merchants can use to create new customer segments based on their specific criteria. Shopify provides some pre-defined templates for you, but many merchants will want their own custom segments for organizing their customer data.
In this step-by-step guide, we'll walk you through what these extensions are, how they seamlessly integrate with Shopify's admin action extensions, and how you can leverage them to build unique apps from scratch, or enhance the functionality of your existing Shopify apps.
Now, let's roll up our sleeves and create a custom customer segment template extension.
Create your extension
To get started, create a new app using the Shopify CLI. Run <inline-code>yarn create @shopify/app<inline-code> in your terminal. Make sure to select the extension-only app template (not the Remix template) since we're focusing on customer segment templates and admin action extensions.
Next, generate the customer segment template extension by navigating to your new app directory and using <inline-code>yarn generate extension<inline-code>. Choose the customer segment template extension type and opt for JavaScript React as your preferred language.
Install the app
To make sure everything is working as it should, you’ll want to install the app on your development store. Run your app using <inline-code>yarn run dev<inline-code> and you should be prompted to open the Shopify Developer Console. Copy the “App home” preview link, open the preview URL in a browser, and follow Shopify’s prompts to install your app. Now, you should be able to find your customer segment template in your dev store, under the Customers page.
Customize your customer segment template
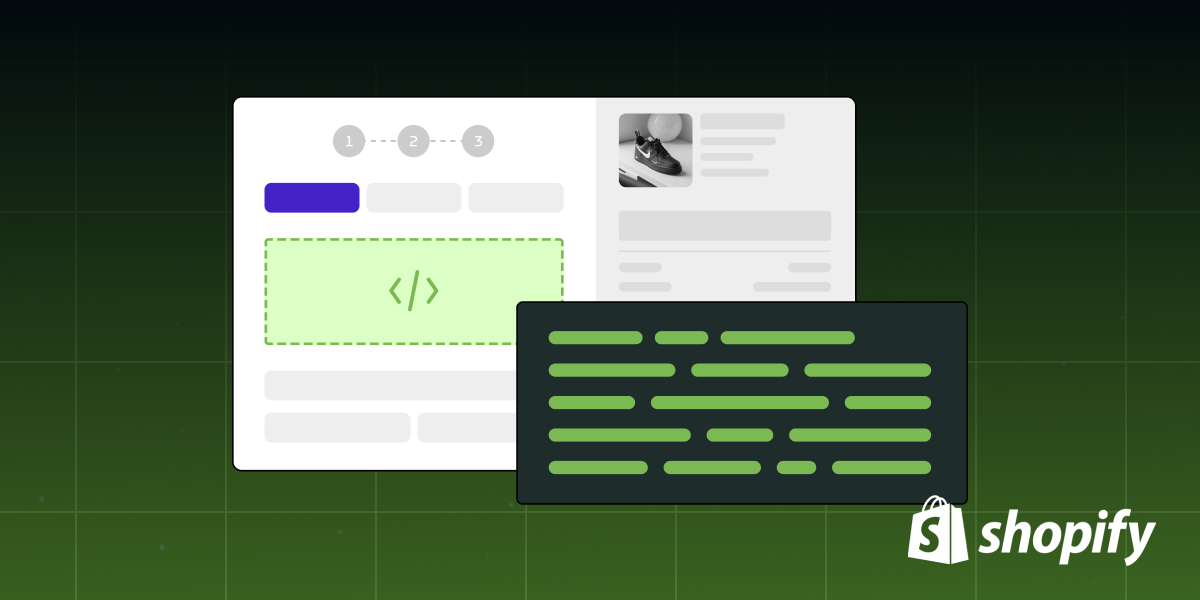
In the generated code, you’ll find an extensions folder. You should have a <inline-code>shopify.extension.toml<inline-code> file, which you can use to change your extension settings, a <inline-code>package.json<inline-code> file, and in the source folder, you’ll find your <inline-code>CustomerSegmentTemplate.jsx<inline-code> file.
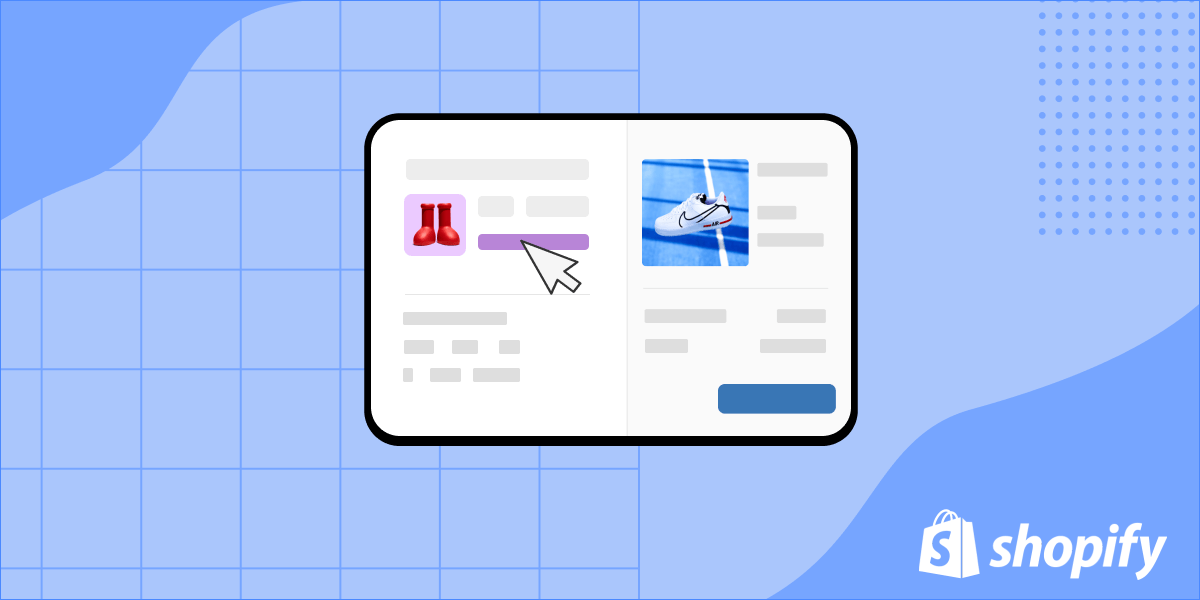
Note the <inline-code>query<inline-code> and <inline-code>queryToInsert<inline-code> properties on the CustomerSegmentTemplate component. The <inline-code>query<inline-code> field is the preview query that is shown in the templates drawer. The <inline-code>queryToInsert<inline-code> field, however, is what is actually added to the filter box on the customer page. You’ll want to customize <inline-code>queryToInsert<inline-code> with the details your merchant will need, for example Product ID, to create your segment.
Create and apply a segment
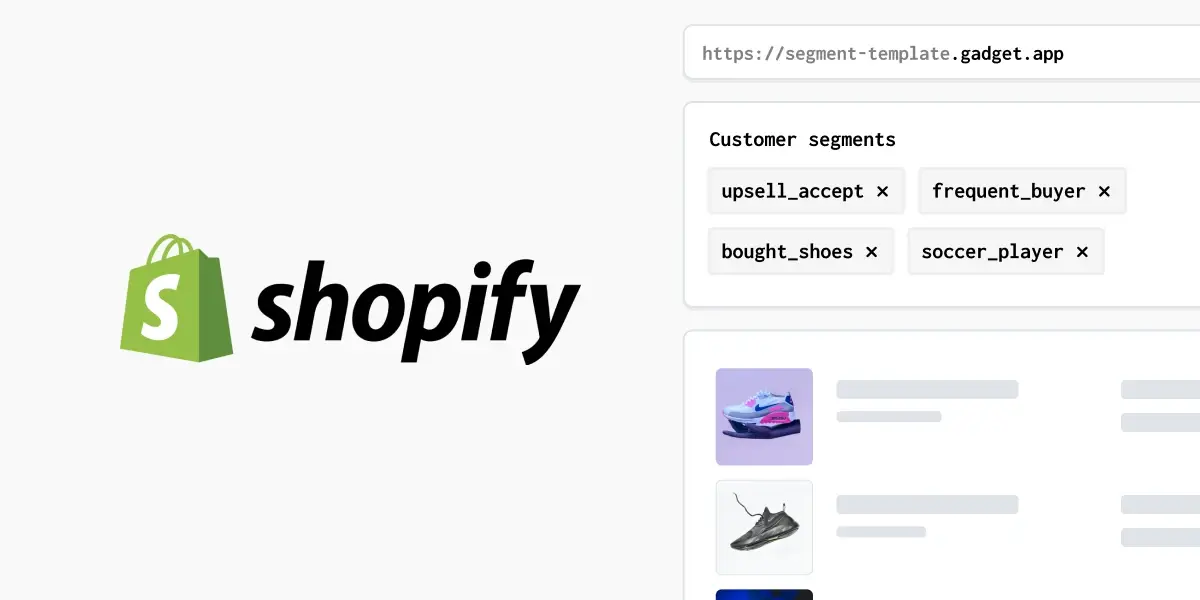
Once you’ve added the necessary fields for your segment, go back to the Customers page in your dev store and use your custom template to filter customers based on specific criteria, for example, products purchased. Save this filter as a segment for future use.

Adding admin action extensions for custom actions
Now that we have our customer segments set up, let's enhance our app by adding admin action extensions for custom actions.
Stop running your app and generate a new extension using <inline-code>yarn generate extension<inline-code>. Choose the <inline-code>admin action<inline-code> extension type, and once again, opt for JavaScript React as the language.
Modify the generated TOML file to set the target to <inline-code>admin.customer-segment-details.action.render<inline-code>. Adjust the action extension code to suit your custom logic for running actions on customers within a segment.
Test the admin action extension
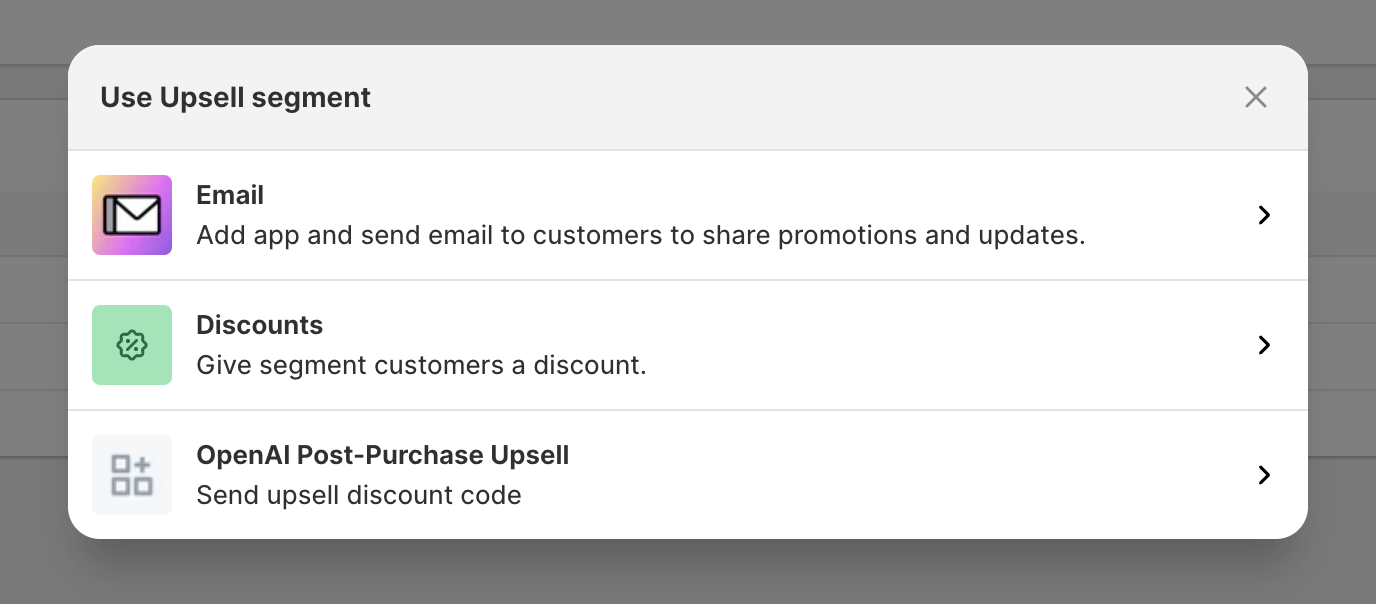
Restart your app and refresh your page. Select your customer segment and observe the presence of your admin action extension. Use the extension to fetch customer data and run custom actions, such as sending emails or applying discounts.

Using multiple templates in one extension
You can always experiment with adding multiple customer segment templates to a single extension for better flexibility. Let's explore a real-world example where we extend an existing app for post-purchase upselling
- Tag customers who accept an upsell offer with a unique tag.
- Create a customer segment template based on this tag.
- Use an admin action extension to offer discounts to customers within this segment.
And you’re done! You can now build Shopify customer segment template extensions and admin action extensions. For further details and troubleshooting, you can read through Shopify's documentation and tutorials.
If you have questions, you can join the Gadget Discord. We’re always happy to discuss Shopify extensions and Gadget. Until next time, keep building more and coding less with Gadget!