Setting up a local dev environment for building Shopify themes
In this guide, we’ll walk you through how to get started with Shopify theme development.
Requirements
Before you get started, you need the following:
- The URL of a store you want to work on. We recommend signing up for a Shopify Partner account and creating a new development store when you first get started.
- Permission to work on themes for the store you are working on. If you are working on a merchant’s store, you need to make sure that you have a collaborator or staff account that has been granted the Manage themes or Themes permission. If you’re working on a Partner account and a development store, you don’t need to worry about this step at this time.
Anytime a buyer is browsing through products or services offered by a Shopify merchant, they are interacting with the store’s theme. Themes power Shopify storefronts, and unique and attractive themes help drive higher traffic and conversion rates.
If you’re looking to start building your own themes, you have two options. You can either build custom themes for merchants, or build themes that are listed for sale on Shopify’s Theme Store. In either case, it’s easy to get started, as setting up a local development environment for building Shopify themes takes less than 10 minutes and we’re here to walk you through the steps.
Shopify CLI or Theme Kit?
Shopify has two CLI tools that can be used to develop themes: the Shopify CLI and the Theme Kit. We recommend using the Shopify CLI, as this is Shopify’s newest tool for building themes and apps. They’ve released a number of improvements to it in recent months, and Shopify recommends using it for Online Store 2.0 theme development. For vintage themes, Theme Kit can be installed and used instead.
Shopify has a guide for getting set up with the CLI. This guide will cover those steps, and sprinkle in some extra useful info about building themes using the CLI. If you want to use Theme Kit to work on a vintage theme, Shopify has a separate getting started guide.
What about theme app extensions?
Theme app extensions are a way to inject small bits of custom functionality into an existing theme. For example, if you want to add a storefront chatbot or a product recommendation quiz to a theme, you could do so using a theme app extension.
Theme app extensions are also built using the Shopify CLI, but are released as part of a public or custom Shopify app instead of as part of a theme. Merchants can then use Shopify’s theme editor to place the theme app extension somewhere in the storefront.
This guide will not cover theme app extensions. If you are looking to get started building storefront apps using theme app extensions, you can check out Gadget’s product quiz tutorial.
Step 0: Installing dependencies and the Shopify CLI
There are some required dependencies that need to be installed before you get started with the Shopify CLI. Shopify lists all dependencies on their site: Ruby, Node, and git are required for all operating systems.
Things are dead simple on a Mac, two homebrew commands will install the Shopify CLI as well as any of the required dependencies.
Windows and Linux developers have some additional required dependencies before the Shopify CLI can be installed globally using <inline-code>npm<inline-code>.
Once the Shopify CLI is installed, you can verify that it was installed correctly by running <inline-code>shopify<inline-code> in the terminal, which prints out the current version as well as the available topics and commands. Notice that one of the topics is <inline-code>theme<inline-code>, this is what you will be using to do theme development. If you want to see all the available theme commands, you can do this using <inline-code>shopify theme<inline-code>.
Once the CLI is installed, you can start by cloning an existing theme.
Step 1: Cloning a theme
Now you need to pull down some theme code to your local machine. Navigate to the directory you want to clone your theme in and run <inline-code>shopify theme init<inline-code>. You will be prompted to name your new theme, and then Shopify’s Dawn theme will be cloned into the folder.
If you want to clone a different theme, you can use a <inline-code>--clone-url<inline-code> flag to point to a different repository. For example, <inline-code>shopify theme init –-clone-url https://github.com/Shopify/dawn.git<inline-code> (this also clones Dawn, but you get the idea 😉).
Now that you have a base theme, you can start modifying the template!
Step 2: Start building
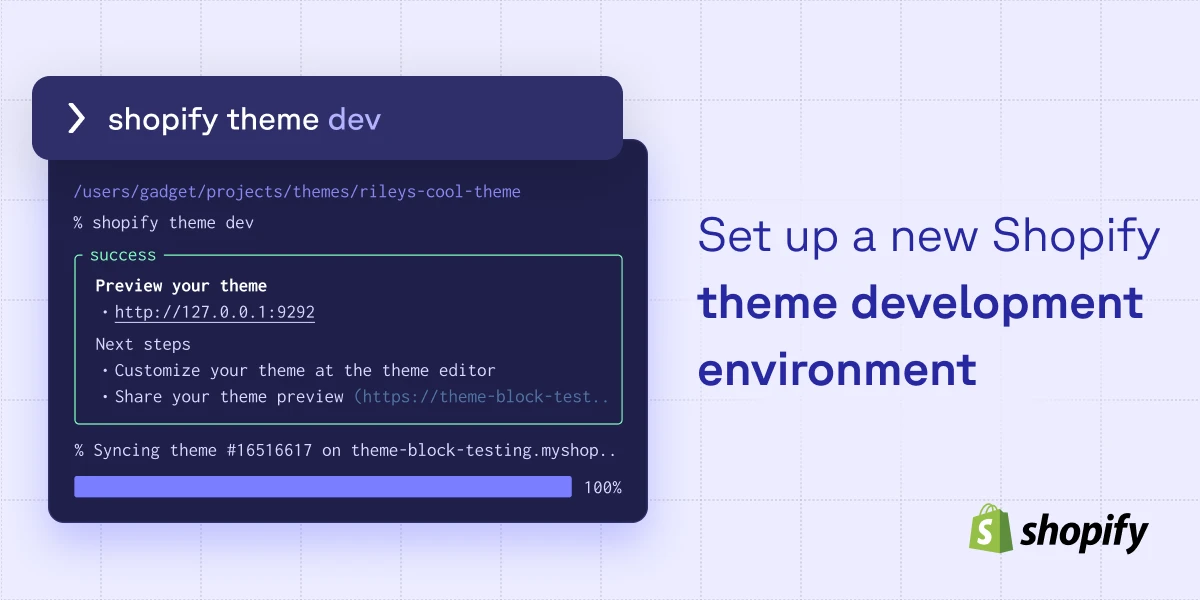
With your theme code at the ready, you can start your development server and make some changes to the custom theme. To do this, run <inline-code>shopify theme init –-store <my-store-name><inline-code> and your local theme code will be synced to the passed-in store. Once the sync is complete, you can preview your theme at <inline-code>http://127.0.0.1:9202<inline-code>.
If you encounter a sign-in form when you click this link, you’ll need to grab the password from the store admin. In the admin, click on Online Store, then Preferences. The password will be on the preferences page. Copy and paste it into the login form, and you should see a preview of your theme on the store!
Hot module reloading works out of the box, so any CSS or section changes will be visible immediately. Note that this preview is only available in Chrome, according to Shopify’s docs! I find that making small changes in <inline-code>sections/image-banner.liquid<inline-code> is a great way to start testings changes out when working on the default Dawn theme. This will make changes that are reflected on the theme’s home page.
Note: If you stop your development server and want to restart it on the same store, you can just run <inline-code>shopify theme dev<inline-code> without the <inline-code>--store<inline-code> flag.
There are some other neat commands included in the CLI that help with theme development. One notable example, running <inline-code>shopify theme check<inline-code> runs Theme Check, which is a linter for the Liquid and JSON files in your theme. Theme Check will identify any errors in your theme, such as syntax errors, unused variables and snippets, and even points out potential performance issues. Running Theme Check to catch these errors before pushing or publishing your theme is probably a good idea!
When building themes in your local editor, it is also handy to install extensions to help write Liquid. If you are working in VSCode, Shopify has a Liquid extension that helps with syntax highlighting, formatting, and autocompletion. Bonus: this extension also works for theme app extensions.
Step 2.5: Learn Liquid
This can’t be covered in a couple of paragraphs in a blog post.
In fact, it can’t be covered by a single standalone blog post. At least, a blog post of reasonable length.
Shopify’s themes are built with Liquid, which is their templating language. Shopify has plenty of Liquid documentation, and there are entire courses, including one offered by Shopify, that focus on teaching developers how to build themes. Because of this, I’m not going to cover any Liquid details here. But if you are getting into theme development, you will want to make sure you have a decent grasp of Liquid and how it can be used to build themes.
Step 3: Pushing and publishing themes
Once you have made some changes to your theme, you can push it up to your store. You can also use the CLI to publish the theme so that it is the live version that buyers will see when they visit the store.
To push your theme to a store, you can run the command <inline-code>shopify theme push -–unpublished<inline-code>. Using the <inline-code>--unpublished<inline-code> flag will create a new theme for the store. You will be prompted to give your theme a name, and this name will appear in the admin as the name of the new theme. You only need to include <inline-code>--unpublished<inline-code> the first time you push a new theme. Any additional changes can be pushed without the flag included.
Once your theme is pushed, you can see it available in the store admin under Online Store → Themes. Merchants can customize the theme using the available theme options by clicking on the Customize button. Clicking on the ellipsis (...) button and then selecting Edit code, allows you to see all of your theme’s code files, which is where you can make unique customizations for a store, if desired.
When a theme is published, it becomes the live theme that buyers will see when they visit the store. There are two ways to publish a theme, clicking the Publish button in the admin or running <inline-code>shopify theme publish<inline-code> in the CLI. Running the command in the CLI prompts you to select the theme you want to publish, which makes it easy to quickly change the theme that’s live on the store.
This was a quick, end-to-end overview of setting up a Shopify theme development environment. If you have any questions about setting up your environment (or building custom Shopify apps) join Gadget’s developer Discord and ask.


