How to: use Gadget as middleware between Shopify and an existing service
Gadget simplifies the process of sending Shopify data to an ERP or other existing systems. Integrating with Shopify can be challenging, which is why many builders use Gadget as an in-between step. Whether you need to synchronize data with Shopify, respond to webhooks, or handle authorization, Gadget can serve as middleware to facilitate the seamless movement of data between services.
In this guide, we will use Gadget to build a middleware application that forwards new orders from Shopify to an existing service. Keep in mind that existing services may have certain restrictions, such as rate limits, that need to be carefully managed. As an example, we will utilize Google Cloud Tasks to demonstrate how to queue requests and payloads for forwarding to an existing service.
Requirements
Before you begin this guide, make sure you have the following:
→ a Shopify Partners account
→ a development store
→ a Google Cloud account
→ some familiarity with Actions in Gadget. If you are new to Gadget, start with the automated product tagger tutorial
You can fork this Gadget project and try it out yourself.
After forking, you will still need to:
- add a Shopify Connection in Gadget
- set up a Google Cloud Tasks project, queue, and service account
- add environment variables to your Gadget app

Create a Gadget app and connect to Shopify
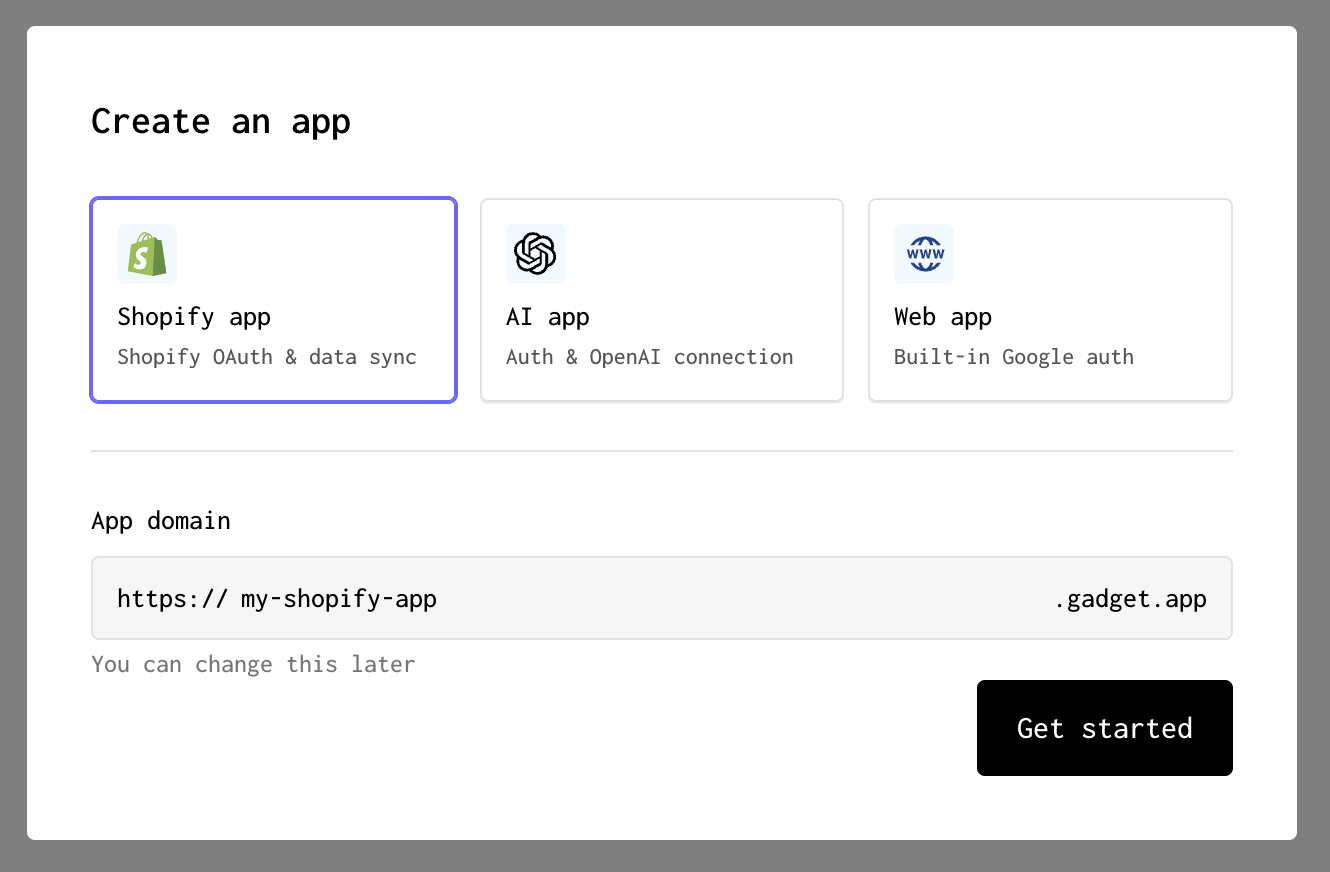
Our first step will be to set up a Gadget project and connect our backend to a Shopify store via the Shopify connection. Create a new Gadget application at gadget.new and select the Shopify app template.
To connect our Gadget backend to a Shopify store, you have two options. The recommended approach is to create a custom app via the Shopify Partner dashboard. Alternatively, you can create a custom application on your Shopify admin page of your store. Both methods involve slightly different workflows for establishing the connection, which is detailed below.
Connect to Shopify through the Partner dashboard
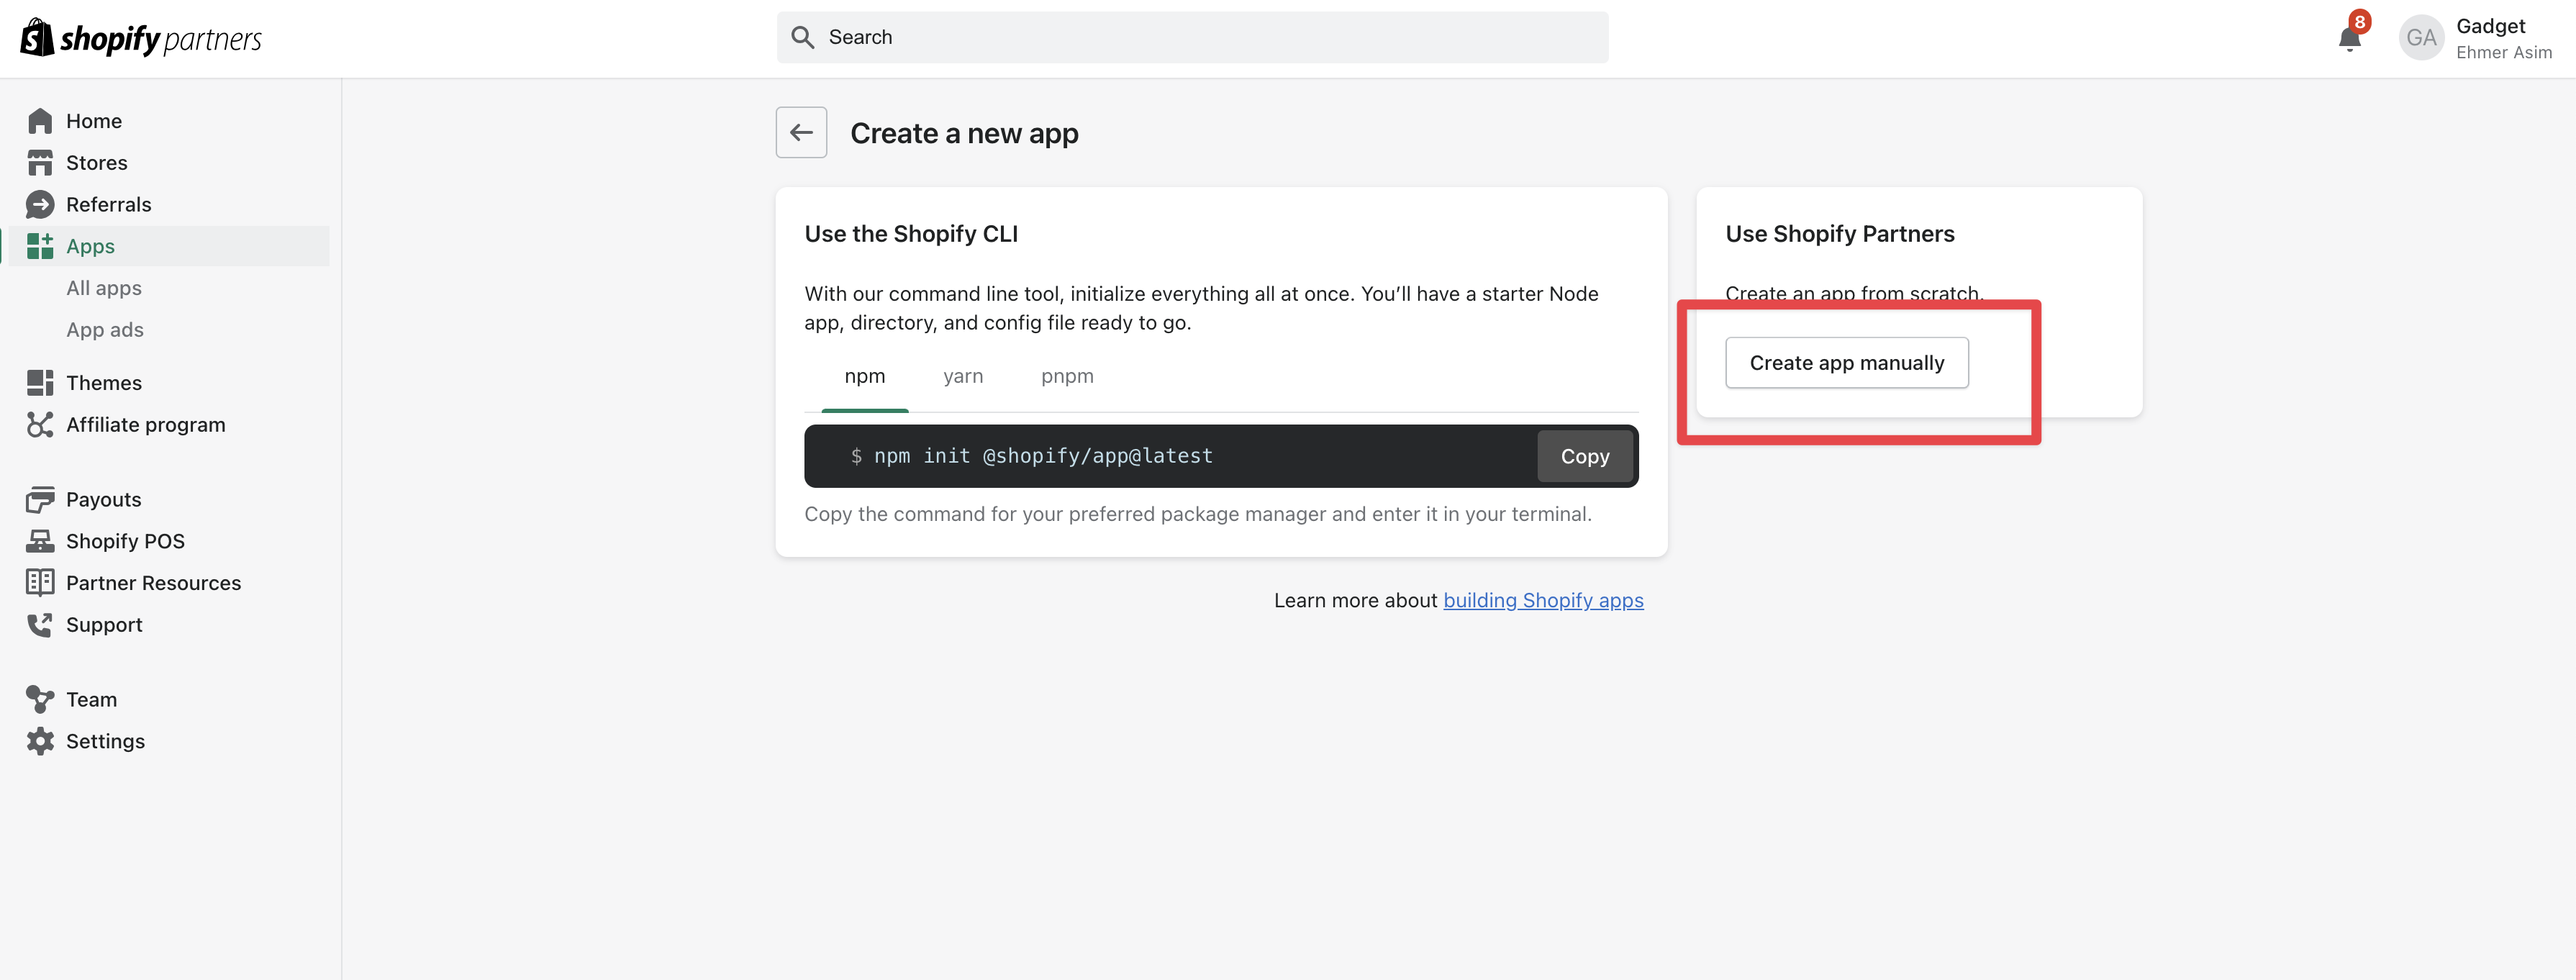
Both the Shopify admin and the Shopify Partner dashboard have an Apps section. Ensure that you are on the Shopify Partner dashboard before continuing.
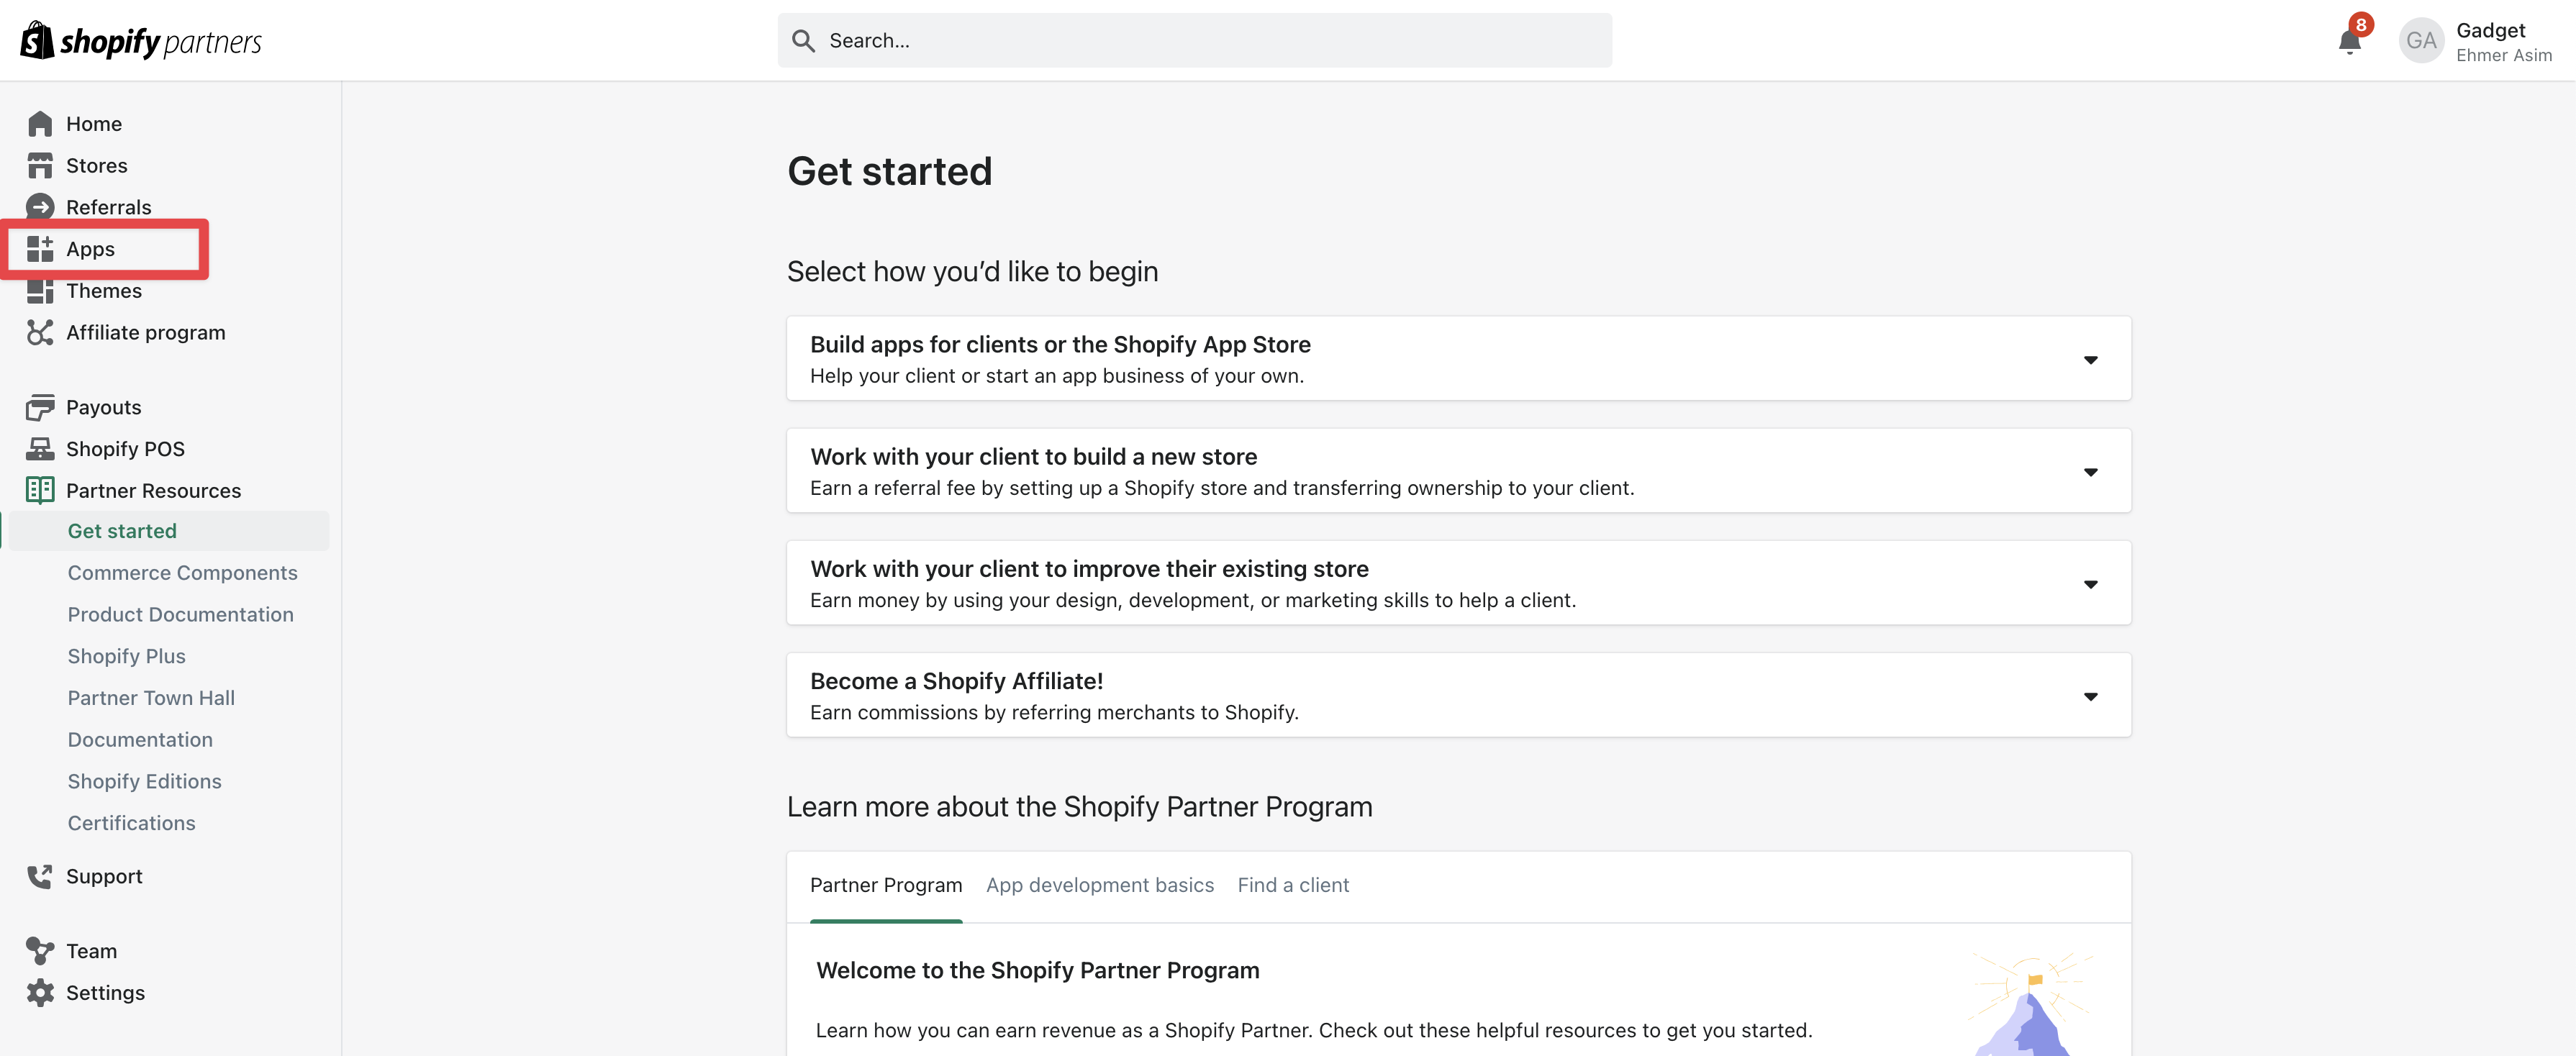
- Click the Create App button
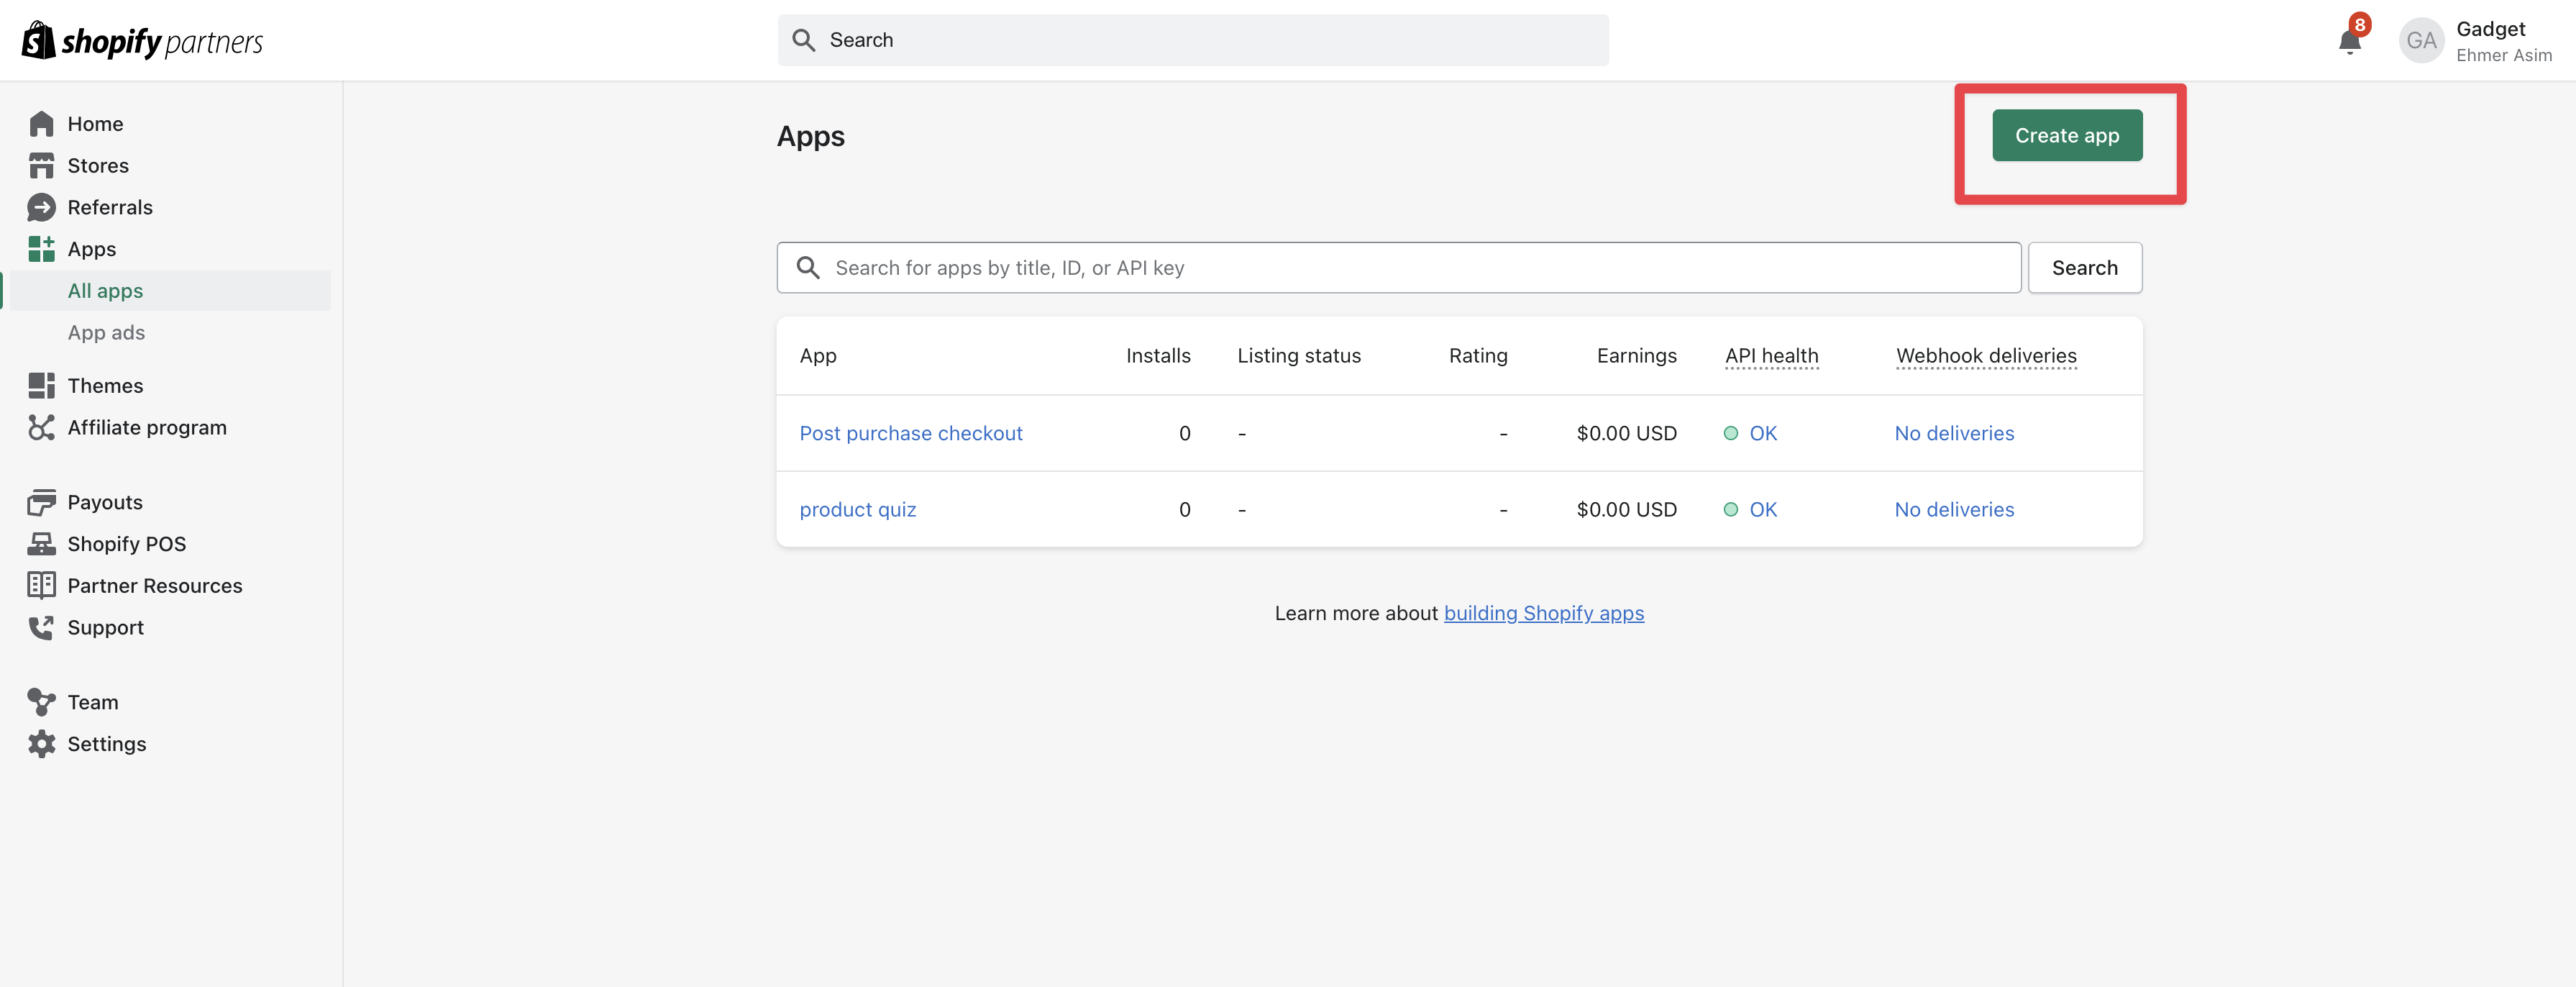
- Click the Create app manually button and enter a name for your Shopify app
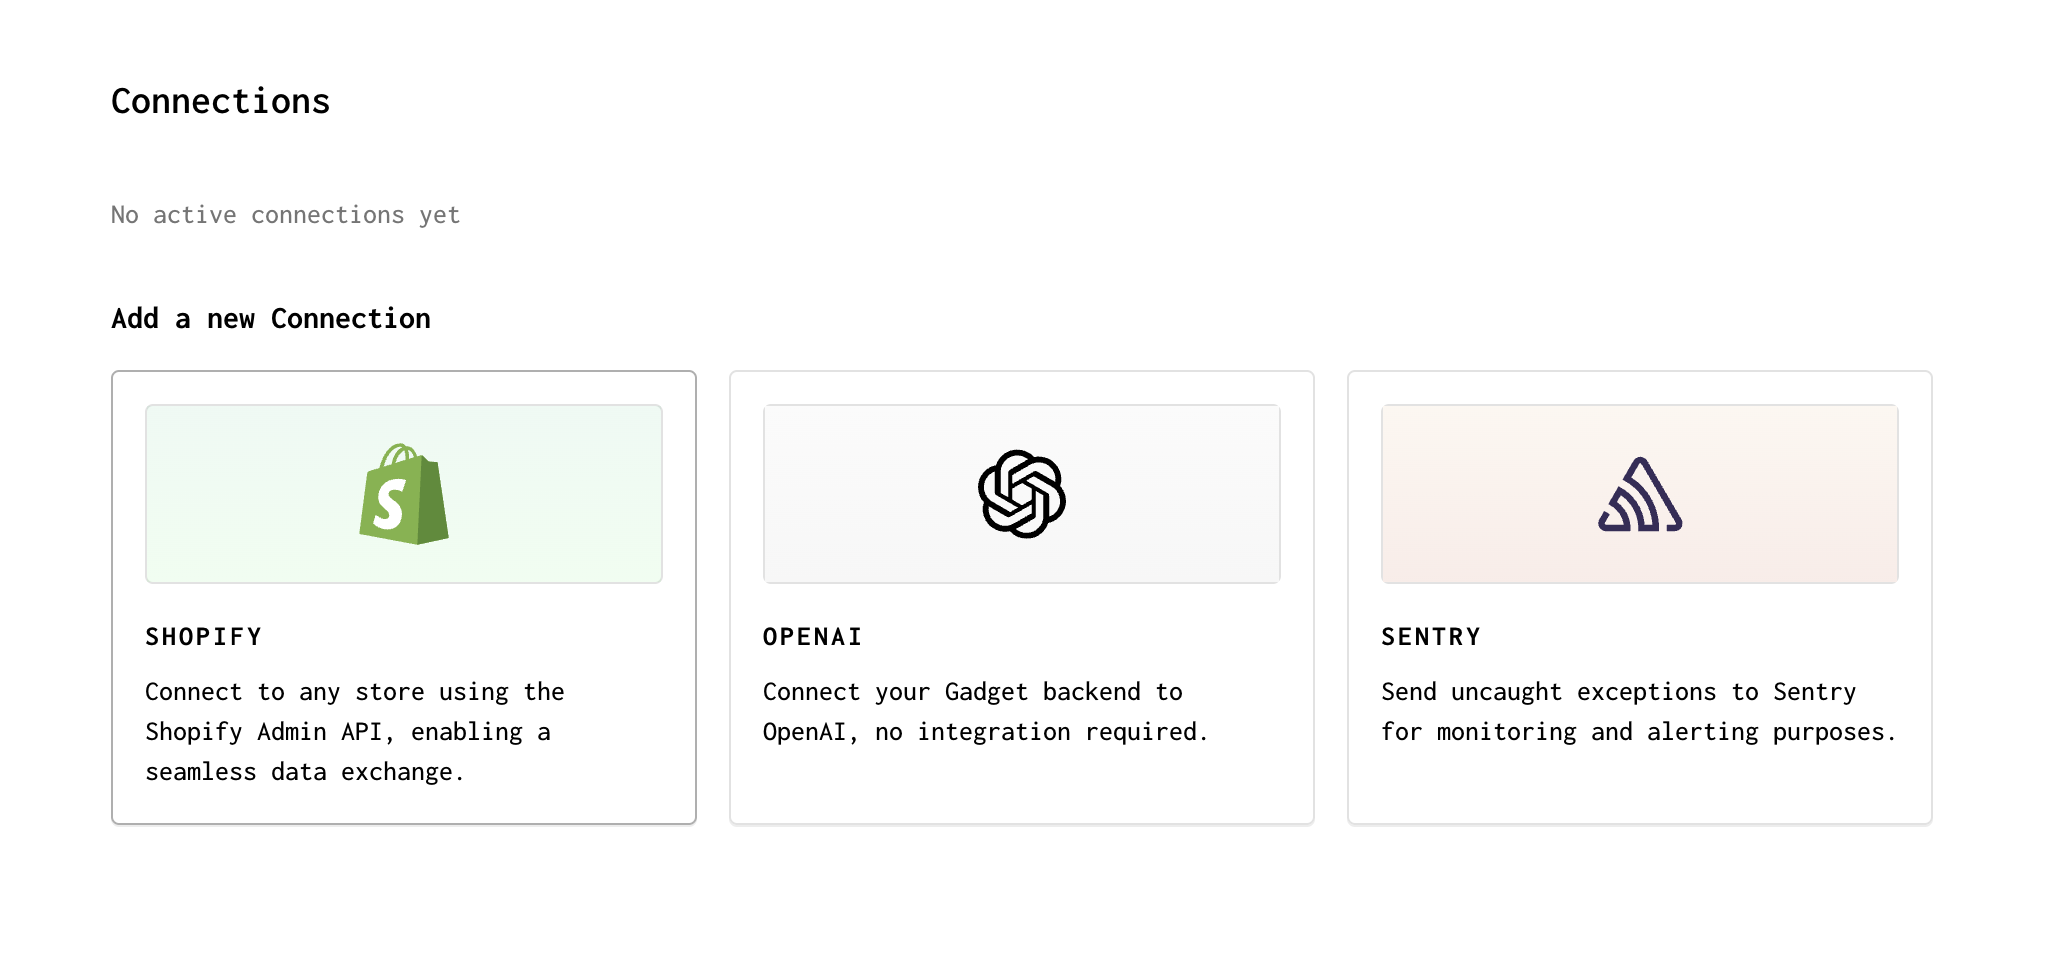
- Go to the Plugins page in your Gadget app and click on Shopify
- Copy the Client ID and Client secret from your newly created Shopify app and paste the values into the Gadget Plugins page
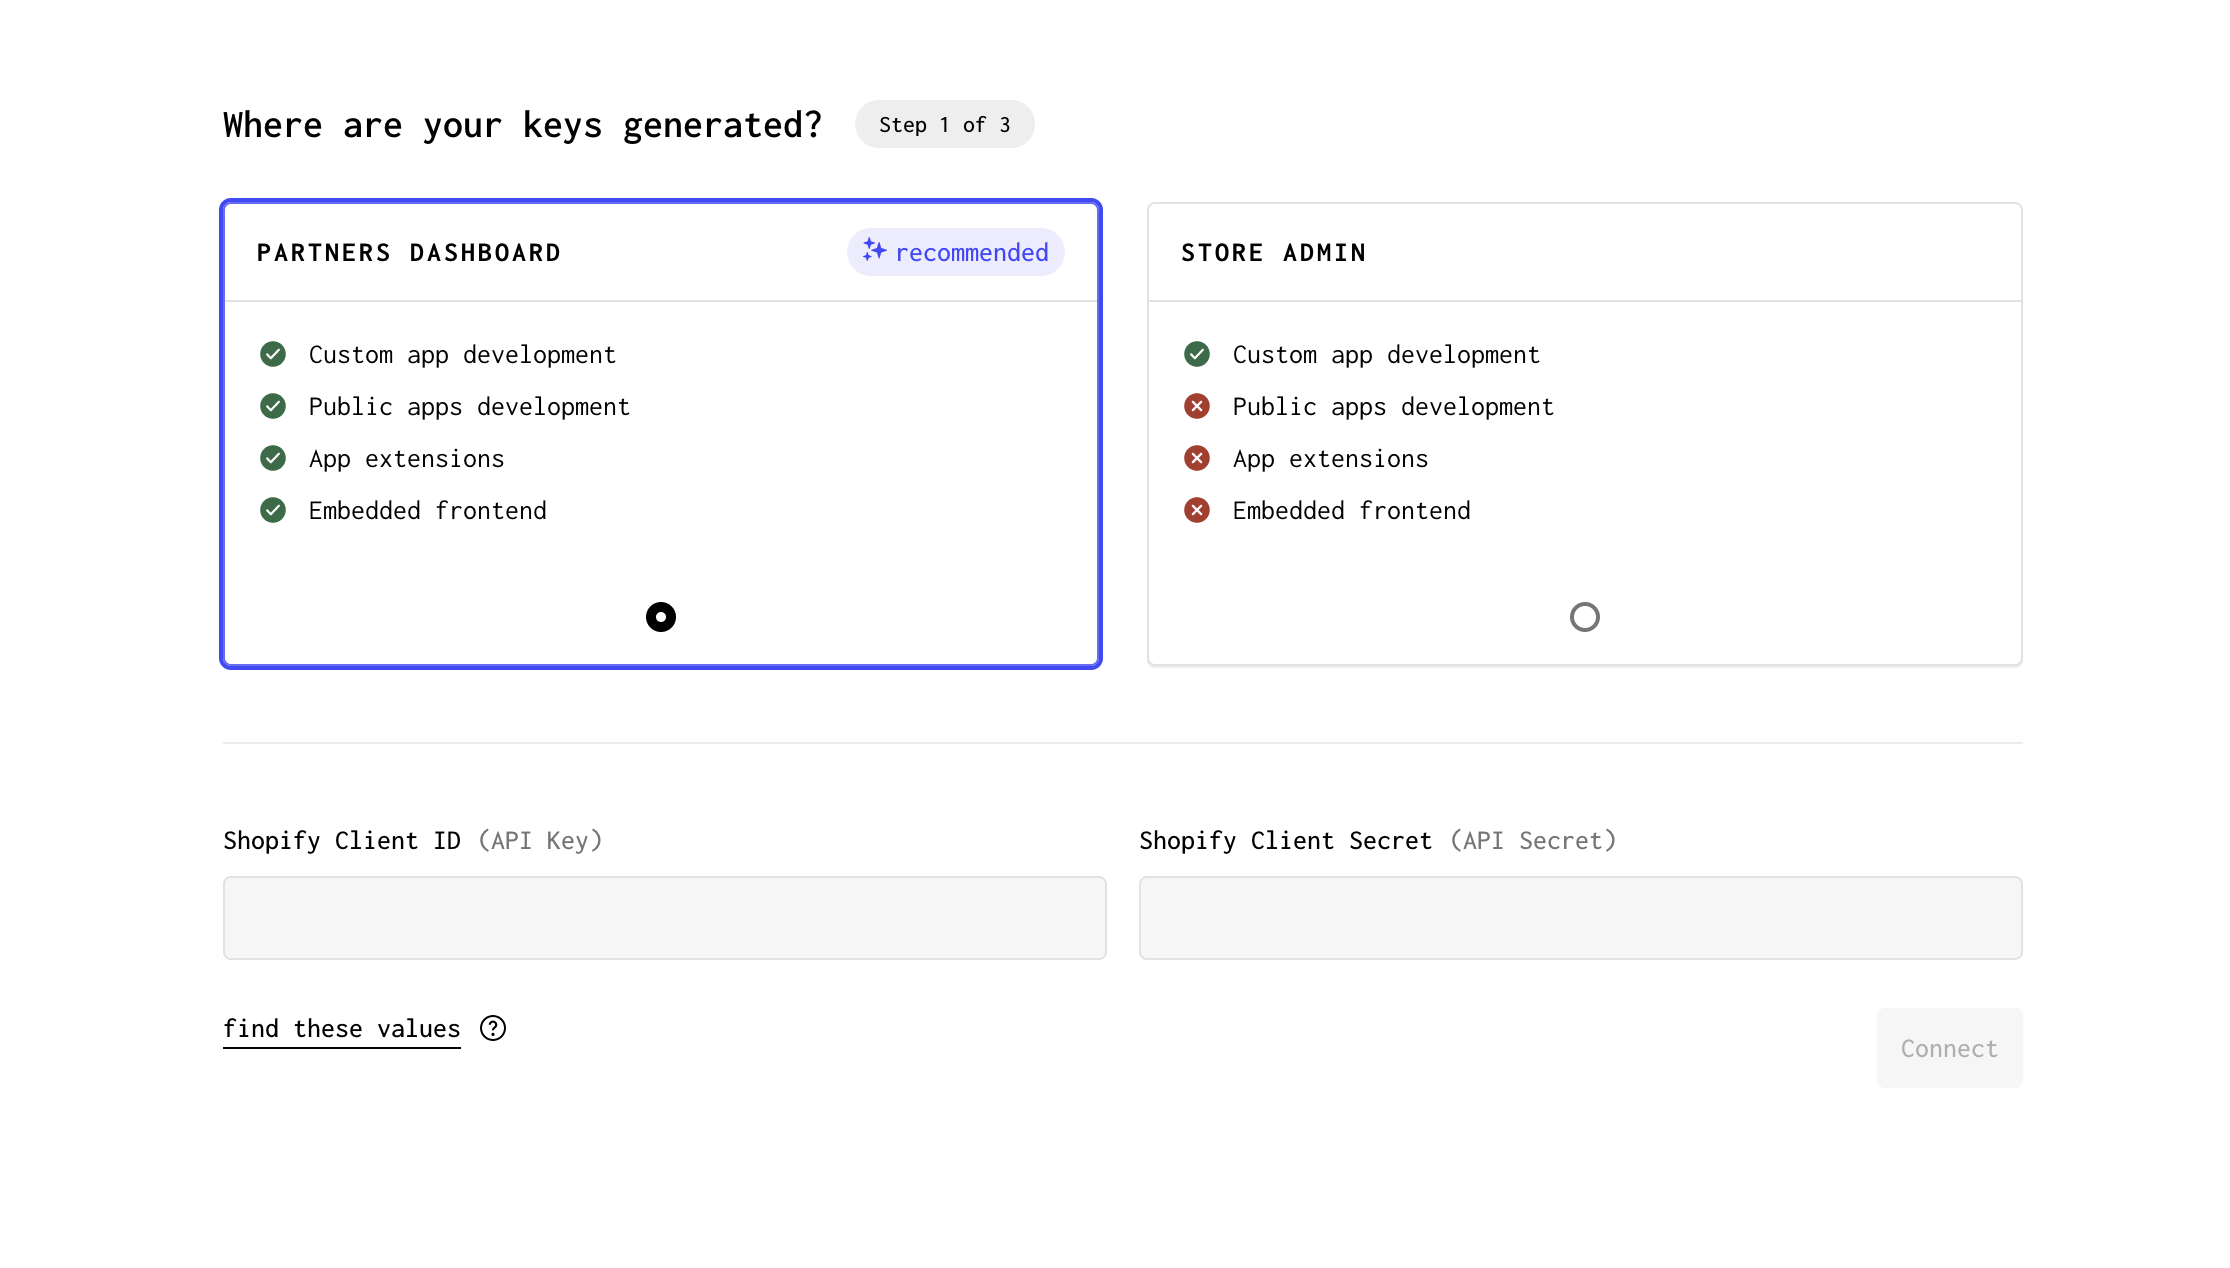
- Click Connect on the Gadget Plugins page to move to scope and model selection
Now we get to select what Shopify scopes we give our application access to, while also picking what Shopify data models we want to import into our Gadget app.
- Select the Orders Read scope and the underlying Order model that you want to import into Gadget
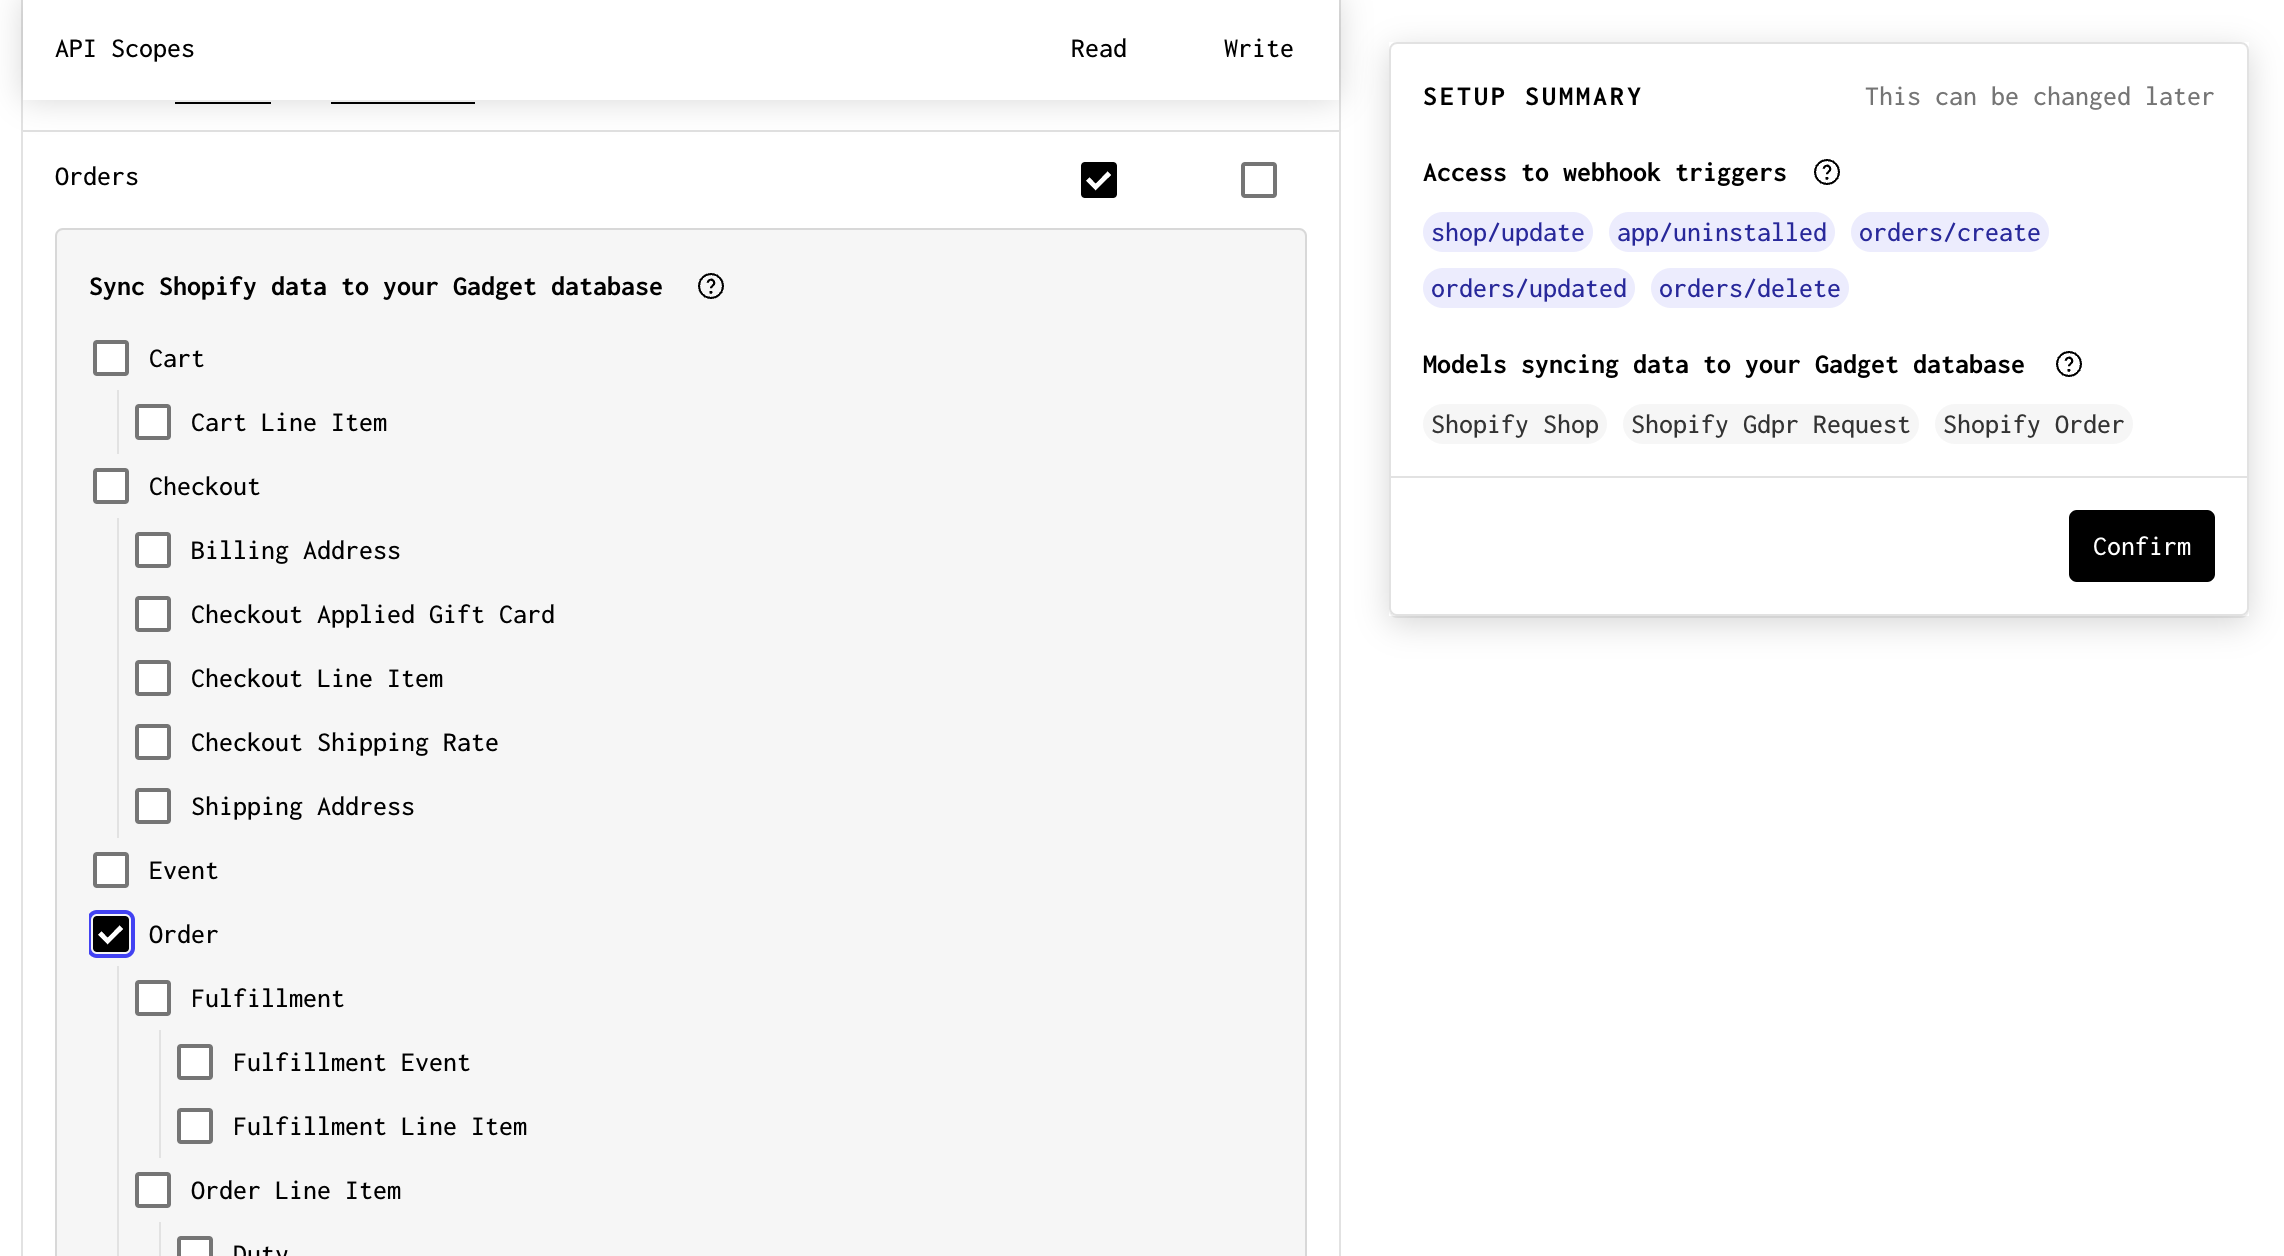
- Click Confirm at the bottom of the page
Need different scopes or models?
This example uses the Order scope and model, but you can select any Shopify model that you want to import into Gadget. A connection can be edited after it is created, so you can always change scopes and models later.
Now we want to connect our Gadget app to our custom app in the Partner dashboard.
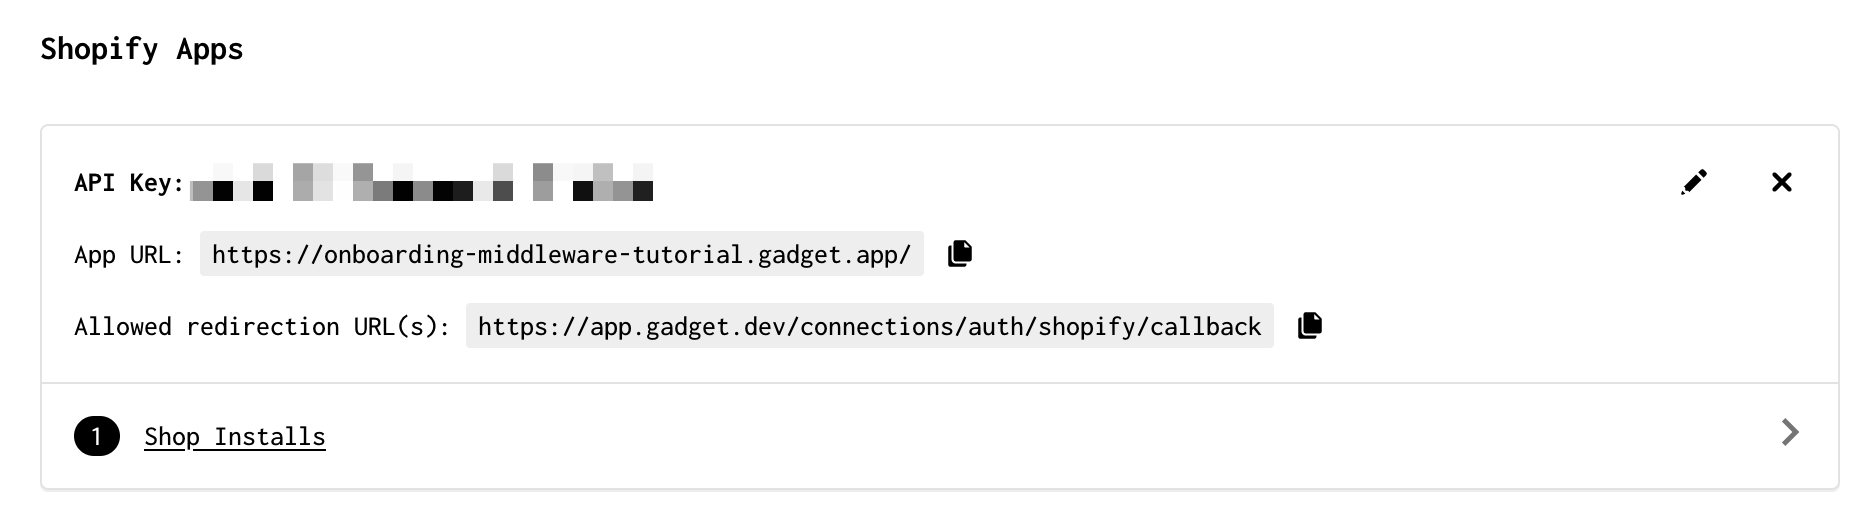
- In your Shopify app in the Partner dashboard, click on App setup in the side nav bar so you can edit the App URL and Allowed redirection URL(s) fields
- Copy the App URL and Allowed redirection URL from the Gadget Connections page and paste them into your custom Shopify App
Protected customer data access
If you are using any of the data models that require access to protected customer data, such as Orders, you need to request access to this data from Shopify. To do this, you can:
→ Find the Protected customer data access section on the App setup page of your Shopify Partner dashboard
→ Click Request access and follow the instructions
Once you have gone through this process, you will be able to properly register webhooks and sync data for the protected customer data models.
For information, such as the models requiring you to fill out the protected customer data access form in Shopify, see our documentation.
Gadget will copy the selected Shopify Order models, their types, validations, and associations into your Gadget backend. These models are ready to process webhooks as soon as you install the app on a Shopify store.
Set up Google Cloud Tasks
Google Cloud Tasks is a fully managed service that facilitates the management, execution, dispatch, and delivery of a large number of distributed tasks. Cloud Tasks will be utilized to queue requests and payloads for forwarding to an existing service.
Before proceeding, ensure that you already have a Google Cloud account. If not, you can create one here. Note that using Cloud Tasks will require you to provide billing information.
You can set up a Cloud Tasks queue using Google's Cloud Console or the gcloud CLI. This guide uses the Cloud Console to set up a Cloud Tasks queue.
Not worried about rate limits on your existing service?
If you aren't worried about rate limits or other restrictions on pushing data to your existing service then you don't need to use Google Cloud Tasks. Instead, you can add a code effect that simply forwards data to your existing service:
Create a new Google Cloud project and Cloud Tasks queue
If you don't already have a Google Cloud project, you will need to create one, enable the Cloud Tasks API, and create a queue:
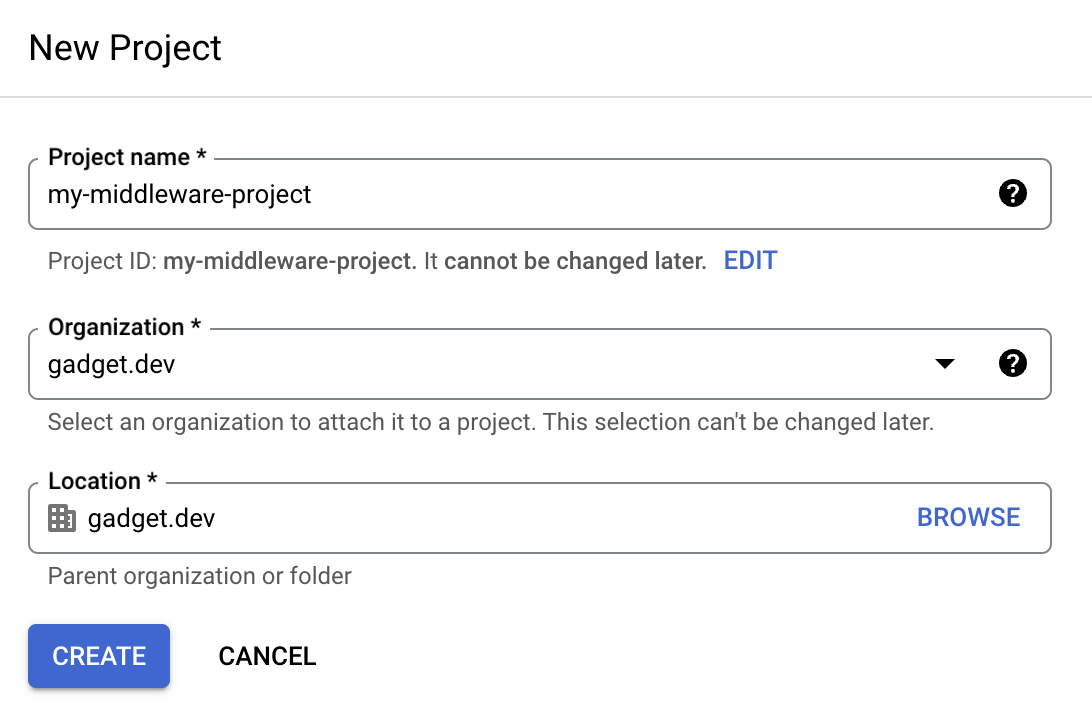
- Create a new project using the Google Cloud Console
- Enable the Cloud Tasks API for your project by navigating to the Cloud Tasks API page and clicking ENABLE
- If you haven't already done so, you will need to enter billing information. Google has a generous free tier and trial period, so you shouldn't be charged for test usage
- Navigate to the Cloud Tasks management page in the Cloud Console and click CREATE PUSH QUEUE to create a new queue
- Give your queue a name and select a region
- Under SHOW ADVANCED SETTINGS you can configure your queue and how it handles retries and rate limits
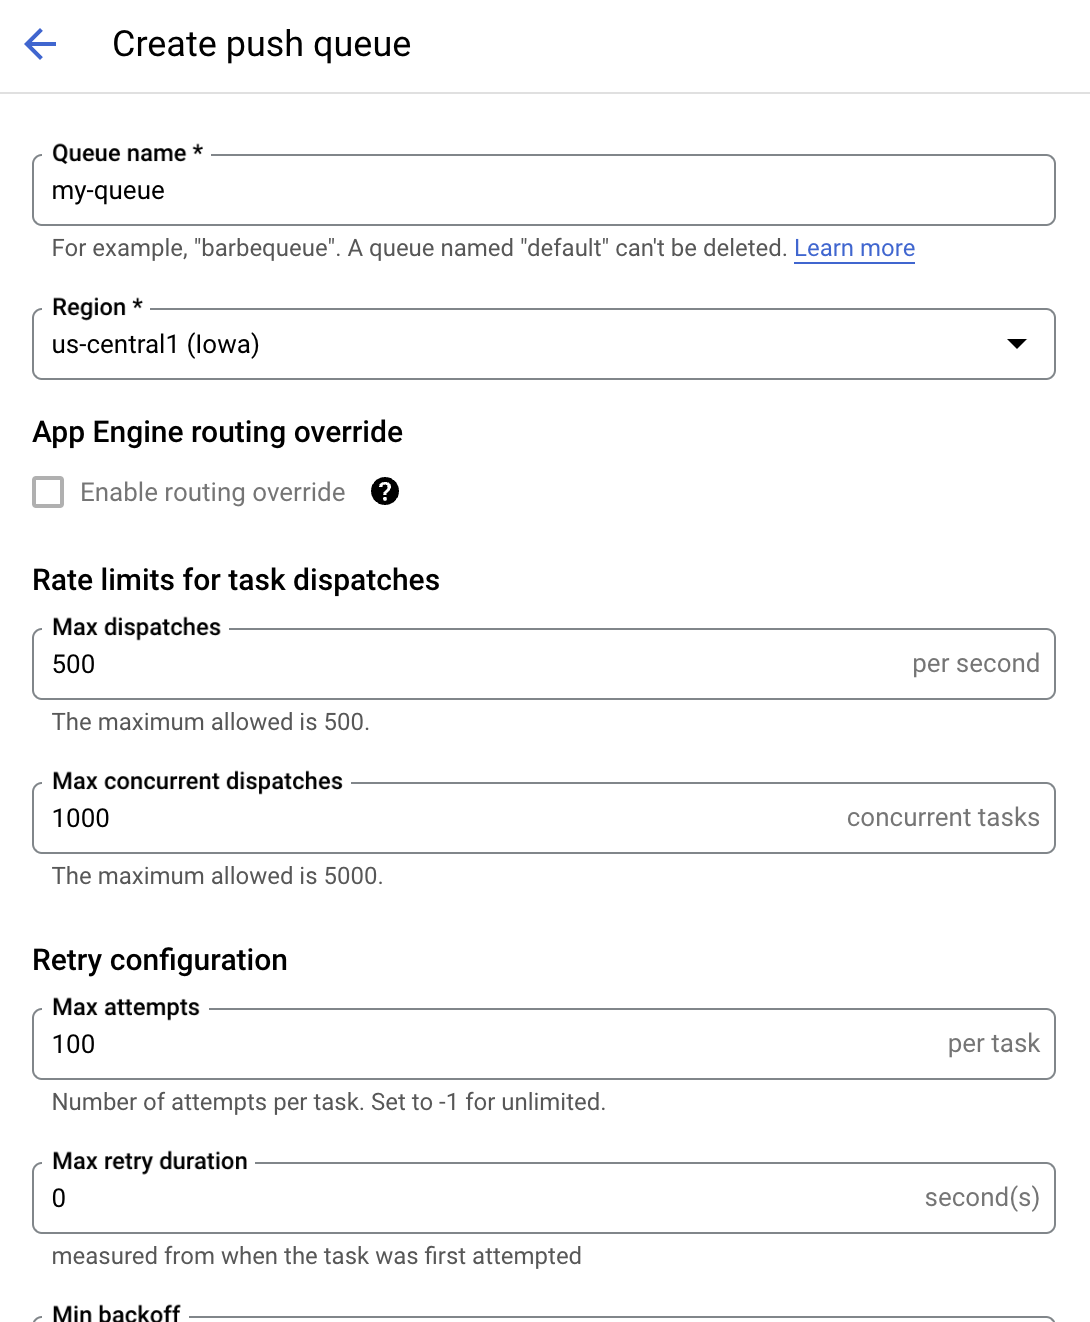
Queue settings can be edited at a later time and will be unique to your use case. See Google's docs on queue configuration for more information on the available routing, rate limit, and retry settings.
- Click CREATE to create the new queue
Create a service account and generate a key
Now that you have a queue, you can set up a Google service account to handle HTTP Target authentication. This service account will be used to add credentials to the Cloud Tasks API. You can follow Google's instructions, or do the following:
- Navigate to the Service Accounts page in the Cloud Console
- Select your project
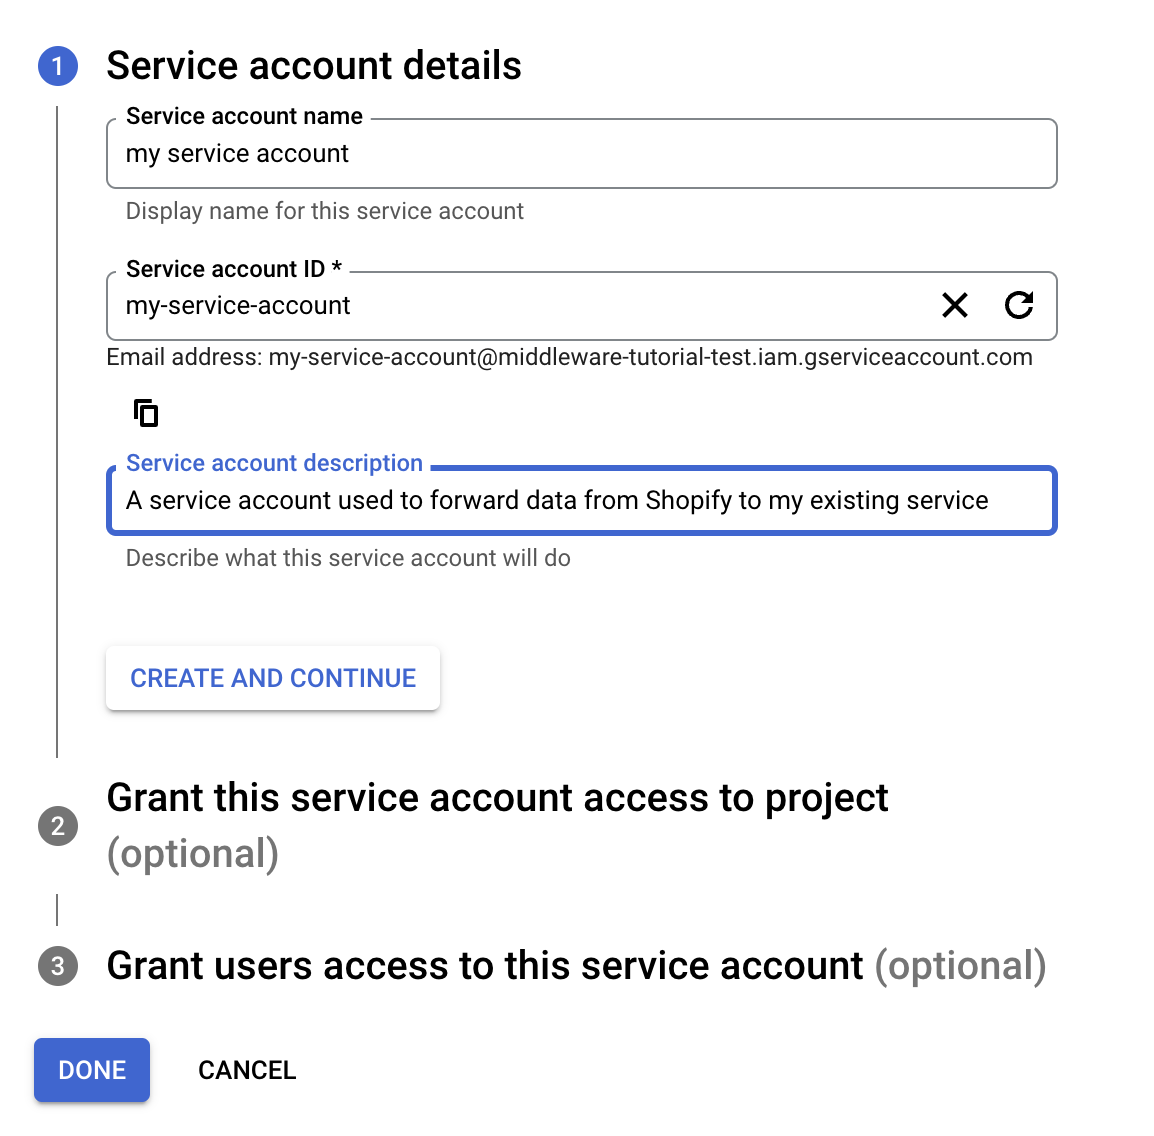
- Click + CREATE SERVICE ACCOUNT
- Give your service account a name and description, and click CREATE AND CONTINUE
- Select Cloud Tasks > Cloud Tasks Enqueuer as the role
- Click + ADD ANOTHER ROLE and select Service Accounts > Service Account User

- Click Continue to save the selected roles
- Click Done to finish creating the service account
Once you have created your service account, you can generate a key that will be used to authenticate the client used to enqueue tasks from Gadget.
- On the service account page, open the menu for your service account and click Manage keys
- Click ADD KEY > Create new key and select JSON
A .json file containing the private key should be downloaded on your local machine. You will need to add the private key to your Gadget app as an environment variable.
Add environment variables
Now that a Google Cloud Tasks queue has been set up, it is time to set up the client in Gadget so you can push tasks to the queue. You will need to add the following environment variables to your Gadget app:
- Go to Settings -> Environment Variables in Gadget
- Add new environment variables by clicking + Add Variable
- Create the following variables:
- <inline-code>GCLOUD_SERVICE_ACCOUNT_PRIVATE_KEY<inline-code>: add the private key generated from the service account - you can encrypt this variable by clicking on the lock icon
- <inline-code>GCLOUD_SERVICE_ACCOUNT_EMAIL<inline-code>: add the email of your service account - this is available on the Details page for the service account user in Google Cloud Console
- <inline-code>GCLOUD_PROJECT_ID<inline-code>: add the project ID of your Google Cloud project
- <inline-code>GCLOUD_QUEUE<inline-code>: add the queue name of your Cloud Tasks queue
- <inline-code>GCLOUD_LOCATION<inline-code>: add the location of your Cloud Tasks queue
- <inline-code>TARGET_SERVICE_URL<inline-code>: add the URL of the service you want to forward data to

These variables will all be used to create tasks that will be pushed to the queue. In this example, a RequestBin is used to receive the tasks and respond with a 200 status code.
Install Google Cloud Tasks client
Before adding any code in Gadget, you can add the Google Cloud Tasks Node client to your Gadget project.
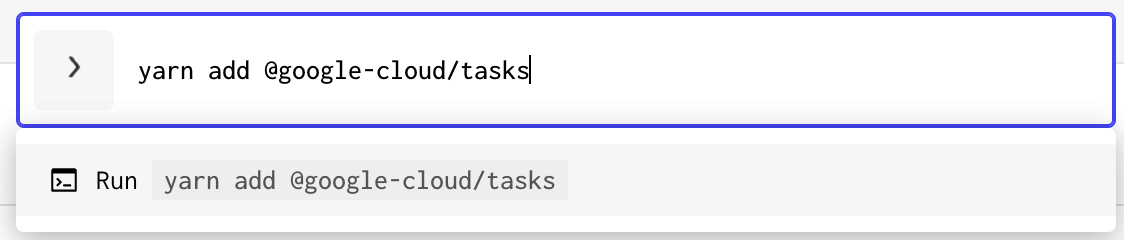
- Open the Gadget command palette using P or Ctrl P
- Enter > in the palette to allow you to run yarn commands
- Run <inline-code>yarn add @google-cloud/tasks<inline-code> to install the client
The <inline-code>@google-cloud/tasks<inline-code> dependency will be added to your Gadget project's <inline-code>package.json<inline-code> file.
Now you can make use of the client in some custom code.
Write code to add tasks to the queue
With the connection to a Shopify store and the Google Cloud Tasks queue in place, you can add some custom code to forward any new orders to our existing service. You can do this by creating new tasks that are pushed to the Cloud Tasks queue. Once a task is pushed to the queue, Google Cloud Tasks will handle the rest, including retries and rate limits. The steps to add a success effect and code file are the same for other imported Shopify models if you are not using orders.
- Click on the shopifyOrder model in the left nav
- Click on the create action
The following snippet will forward new order information to an existing backend service that was also built using Gadget. You will get a simple response with the id of the order that was forwarded. The trigger param that is used here contains the entire webhook payload from Shopify.
- Paste the following snippet in shopifyOrder/create.js. The Google Cloud Tasks client is called from the onSuccess function:
If you are using shopifyOrder data, you can make a test order on your development store to test your app. If not, complete an action that triggers a webhook to fire for your Shopify data model of interest. You should see a new task in the Google Cloud Tasks queue. The default example above has a 60-second delay between the task being added to the queue and the task being executed. You can change this by modifying the inSeconds variable in the code snippet. After the delay, you should see a new request made against your existing service or RequestBin.
Need authentication for your existing service?
Google Cloud Tasks can also be configured to handle authentication on the existing service. See the Google Cloud Tasks docs for more information.
If you also want to run this code on an update webhook from Shopify:
- Create a new code file in <inline-code>shopifyOrder<inline-code>, for example <inline-code>shopifyOrder/util.js<inline-code>
- Move the <inline-code>CloudTasksClient<inline-code> dependency import and initialization to the new file
- Move the <inline-code>createHttpTask<inline-code> function to the new file
- export to the <inline-code>createHttpTask<inline-code> function:
Now order webhooks will be queued and forwarded to your existing service when an order is created or updated. You can also add code snippets to other actions on the Shopify models, such as delete.
Deploy to Production
Some things to remember before deploying to Production:
- You may or may not want to set up another project or Tasks queue in the Google Cloud Console
- Make sure you have set up your Production environment variables
- Create another app in Shopify and create the Production connection
Deploying your application to Production can be done in two clicks:
- Click Deploy in the bottom right corner of your Gadget app
- Click the Deploy Changes button to deploy your current Development app to Production
Questions?
That is all that is required to use Gadget as middleware. In this example, Gadget gives you hands-off data sync and webhook handling with the Shopify connection, while allowing you to continue to use your existing service to manage your store's data.
If you have any questions about this guide, feel free to reach out on Gadget's developer Discord.


